It can be expensive to buy jewellery to go with every item of clothing you own. So how about making your own? Yes, you read that right! You can make your own jewellery, right at home, with some basic jewellery making supplies and a little bit of practice. Here’s how.
Tools needed to make beaded jewellery
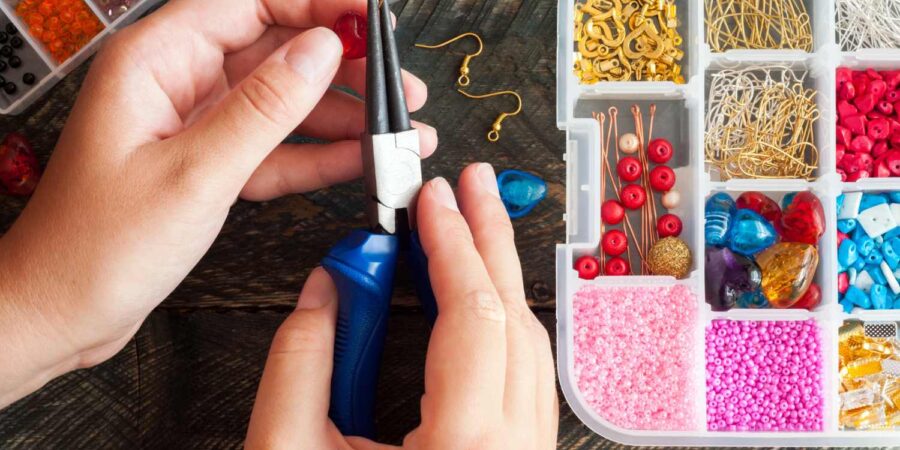
To make beaded jewellery, you’ll need beads of many different colours and metallic spacer beads. Feel free to experiment with materials and colours (see below for colour guide). Beading tools required to get you started.
- Bead design board
- Round nose pliers
- Flat nose pliers
- Crimping pliers
- Wire cutters
- Sharp scissors
- Awl
- Bead board
- Tweezers
- Adhesive
- Beading needles
- Measuring stick
- Flexible wire
- Nylon bead cord
- Clasps and ear hooks
- Storage containers
- Magnifier
- Split rings
You don’t need to buy all of these beading supplies; start off with a few basic ones and work your way up.
Choosing colourful beads
When choosing your beads, keep in mind that different colours signify different energies. For example, red is associated with life, passion, warmth, vitality, action and even danger. Blue symbolises calmness, depth, confidence, stability and healing. Yellow stands for happiness, energy, cheerfulness, joy and spontaneity. Green, of course, signifies all things nature, fertility, growth, harmony, healing and hope. But it also stands for jealousy! Pink is often associated with purity, femininity, innocence and freshness. Black stands for mystery, elegance and sophistication but also mourning and evil!
Bead stringing technique
For basic bead stringing, you’ll need beads of your choice, beading wire, crimp tube beads, split ring pliers, crimping pliers, claw clasps and split rings. Below are the instructions for making a simple beaded necklace with coral beads and golden accents. To do this, you need to…
- String the beading wire through all the beads. Make sure you string the beads in the right order and spacing.
- Next, take a crimp tube head and string it to one end of the beading wire.
- Use the split ring pliers to carefully insert a claw clasp onto a split ring.
- String this split ring to the end of the beading wire and pass the wire back into the crimp bead.
- Last, use the crimping pliers to crimp the crimp bead, and you’re all set! Enjoy your new coral necklace!
Handcrafted beaded jewellery is trendy and it is fun to make. Once you get the hang of it, try to make jewellery for friends and family and then see if you’d like to take it up as a business!
Leave a Reply